Step 1: Verify Log Messages
Value Proposition: Our comprehensive testing process ensures seamless device operation by rigorously validating the absence of critical errors or warning logs, thereby minimizing potential downtime and enhancing overall system reliability. By proactively identifying and resolving potential issues, we empower your business with optimal performance, increased operational efficiency, and a superior user experience, ultimately driving customer satisfaction and competitive advantage.
The high-level logic of the test case will be as follows:
Connect to each device in the testbed.
Collect the output of
show logging | include ERROR.If the output contains more than 0 strings, it means pyATS found messages, and the test should fail for this device. Otherwise, the test should succeed.
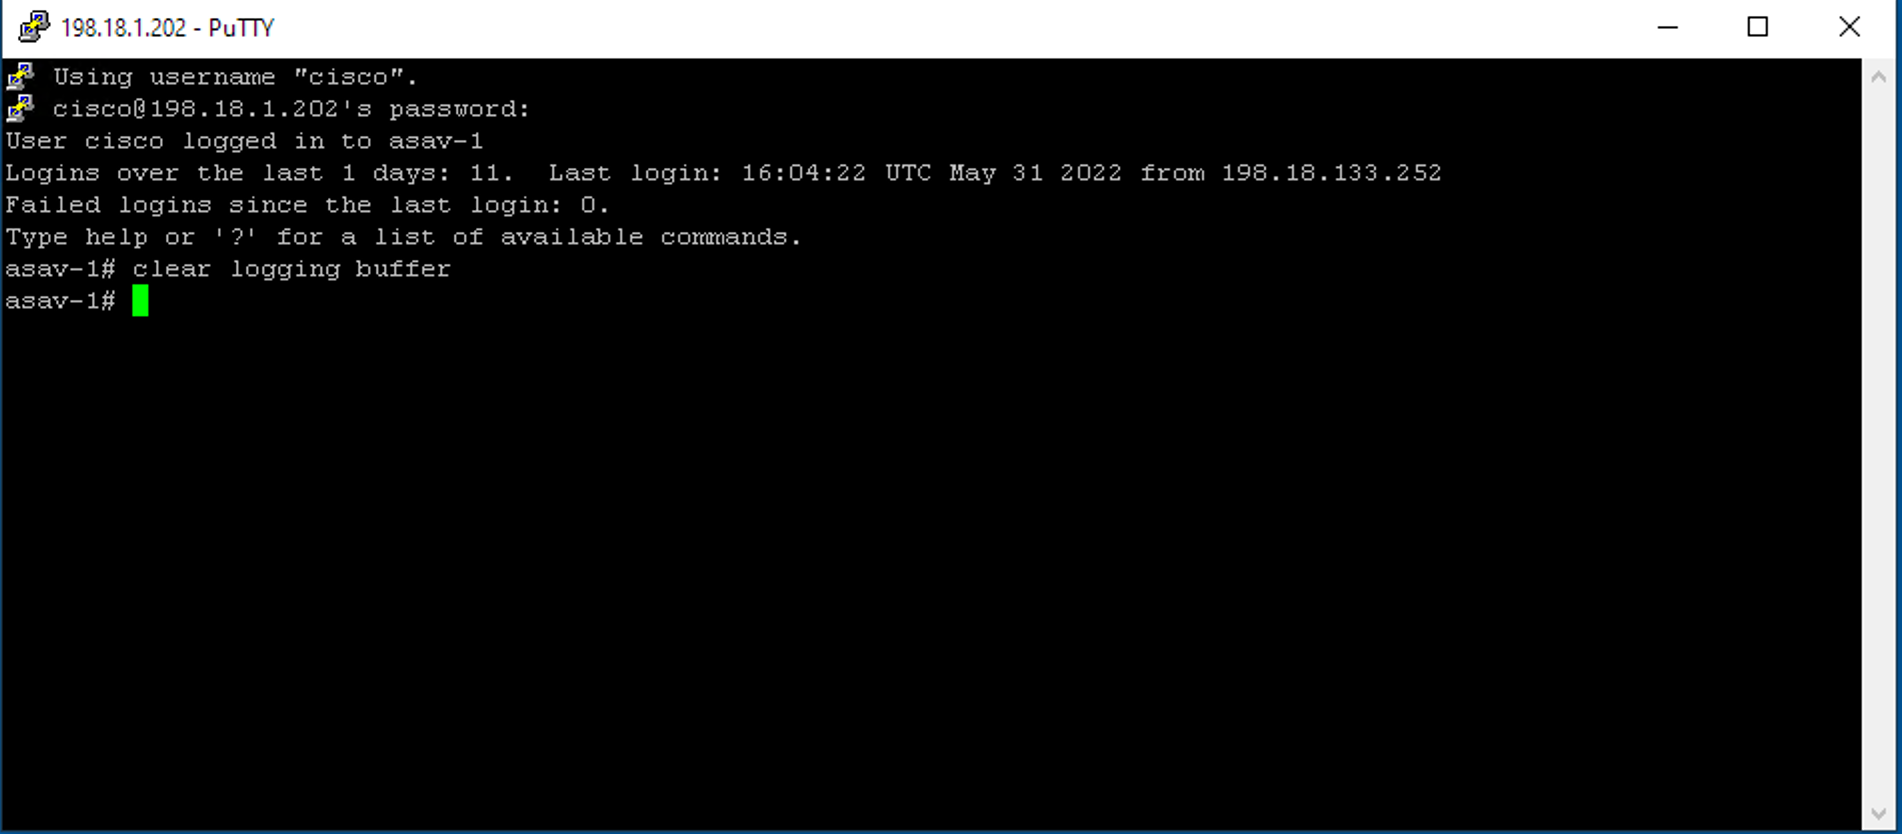
Before creating our test case, connect to ASA. Launch PuTTY and connect to asav-1 (username:
cisco, password:cisco) and enter the following commands:clear logging buffer
Let’s open the pyATS shell and check it out.
pyats shell --testbed-file pyats_testbed.yaml
Input the following code into pyATS shell:
csr = testbed.devices['csr1000v-1']
asa = testbed.devices['asav-1']
csr.connect(log_stdout=False)
asa.connect(log_stdout=False)
Let’s verify whether there are any errors or warning messages in the logs:
csr_output = csr.execute('show logging | include ERROR')
asa_output = asa.execute('show logging | include ERROR')
visualize the outputs:
print(csr_output)
print(asa_output)
Note
The output for ASA should be empty. If you don’t see any ERROR logs on the csr1000v-1 device, then:
- Connect to CSR:
Launch PuTTY and connect to csr1000v-1. Username:
cisco, password:cisco
- Generate a test ERROR message:
csr1000v-1# send log ‘Test ERROR message for pyATS’
send log 'Test ERROR message for pyATS'
Repeat step 3 above for CSR in the pyATS shell:
csr_output = csr.execute('show logging | i ERROR')
To visualize the output, you can use the following command:
print(csr_output)
To check whether there is an empty or non-empty output, we will use the Python len() built-in function, which returns the length of the given string. If the collected output is empty, then len() of the output will be 0; otherwise, the result will be greater than 0.
Input into pyATS shell:
len(asa_output)
The resulting length is 0, which means that the output from ASA is empty:
In [3]: len(asa_output)
   ...:
Out[3]: 0
Input into pyATS shell:
len(csr_output)
The resulting length is greater than 0, which means the output from CSR is not empty:
In [4]: len(csr_output)
Out[4]: 211
Exit pyATS shell using the exit command.
Open the file task3step1a.py in Nano editor:
nano task3step1a.py
The file reuses the establish_connections method from task2step2.py, which helps us connect to all the devices in the testbed.
Note
Pay special attention to the following code:
The method self.parent.parameters.update(dev=device_list), located at the end of the establish_connections(self,testbed) method.
@aetest.subsection
def establish_connections(self, testbed):
    """
    Establishes connections to all devices in testbed
    :param testbed:
    :return:
    """

    device_list = []
    for device in testbed.devices.values():
        LOGGER.info(banner(f"Connecting to device '{device.name}'..."))
        try:
            device.connect(log_stdout=False)
        except errors.ConnectionError:
            self.failed(f"Failed to establish a connection to '{device.name}'")
        device_list.append(device)
    # Pass list of devices to testcases
    self.parent.parameters.update(dev=device_list)
Where self.parent.parameters is an attribute of class aetest, and aetest is the class from which all the test case classes and MyCommonSetup class are inherited from:
class MyCommonSetup(aetest.CommonSetup):
    # ...

class VerifyLogging(aetest.Testcase):
    # ...
Using self.parent.parameters, the arguments of the attribute can be passed between different classes. As an example, in the class MyCommonSetup, we store all the devices from the variable device_list in the parameter parameters[‘dev’]. self.parent.parameters.update(dev=device_list) Then we can access all the devices in the class VerifyLogging, using the method self.parent.parameters[‘dev’].
The code in the class VerifyLogging, is used to implement the logic which we have already tested using pyATS shell. The logic is that if the output length is greater than zero, the output contains ERROR or WARN messages. The test should then be marked as failed.
The device.connect(log_stdout=False) is used in this example (see def establish_connections).
This code (log_stdout=False) - disables all logging to a screen for the whole connection session. To make the execution of the command on a device visible (show logging | i ERROR) in the output of the test, the following code is used: any_device.log_user(enable=True)
class VerifyLogging(aetest.Testcase):

    # ...

    @aetest.test
    def error_logs(self):
        any_device = self.parent.parameters["dev"][0]
        any_device.log_user(enable=True)
        output = any_device.execute('show logging | include ERROR")

        if len(output) > 0:
            self.failed("Found messages in log file, review logs first")
        else:
            pass
Note
The Setup section of the test case is not used, Python’s pass command is added, to keep the method as a placeholder. We will use the Setup section of the test case later when we execute the show logging | i ERROR command on multiple devices.
@aetest.setup
def setup(self):
    pass
Exit Nano without saving by pressing Ctrl + X
Execute the test script task3step1a.py and check the results section.
python task3step1a.py --testbed-file pyats_testbed.yaml
The test case error_log will run only for one device. Now we need to get familiar with the aetest.loop method, which will let us repeat an elementary test case (written for one device) for every device in the testbed.
Open the file task3step1b.py.
nano task3step1b.py
Note
In this task, we will learn how to use dynamic loops, which allow us to loop over the different testbed devices even if we do not know at coding time what the devices’ names are.
This approach is helpful if we don’t want to hardcode device names inside our test case, but we want to dynamically load devices from the testbed file and run test cases across them.
Pay special attention to the code in error_logs method. It receives device object as an argument on input and collects the command from this device.
@aetest.test
def error_logs(self, device):
    output = device.execute('show logging | include ERROR')

    if len(output) > 0:
        self.failed('Found ERROR in log, review logs first')
    else:
        pass
Next, check the setup(self) method of class VerifyLogging. The method setup(self) is used to load all the devices from the testbed and run the error_logs method once for each device.
@aetest.setup
def setup(self):
    devices = self.parent.parameters['dev']
    aetest.loop.mark(self.error_logs, device=devices)
Note
aetest.loop.mark() instructs method self.error_logs to take an argument for input variable ‘device’, one-by-one from the devices list, and run a testcase for each device separately.
Exit Nano without saving by pressing Ctrl + X
Execute the test script. The test case error_logs will run for all the devices in the testbed:
python task3step1b.py --testbed-file pyats_testbed.yaml
Check the VerifyLogging results section. The test for asav-1 should pass, whereas for csr1000v-1 and nx-osv-1 should fail because these devices have error messages in the logs.

Section author: Luis Rueda <lurueda@cisco.com>, Jairo Leon <jaileon@cisco.com>