Lab Access
This lab includes a CML server which a simulation of the lab network will be running. All lab tasks are intended to be executed from the Jumphost (a Windows 10 machine with WSL installed).
The lab topology is shown below:

IP Addressing and Access Information
Hostname |
IP Address |
Port/Protocol |
Username |
Password |
|---|---|---|---|---|
Jumphost/Remote Desktop |
198.18.133.252 |
RDP |
admin |
C1sco12345 |
cml-controller |
198.18.134.1 |
HTTPS |
guest |
C1sco12345 |
asav-1 |
198.18.1.202 |
SSH |
cisco |
cisco |
csr1000v-1 |
198.18.1.201 |
SSH |
cisco |
cisco |
nx-osv-1 |
198.18.1.203 |
SSH |
cisco |
cisco |
xpresso |
198.18.134.50 |
SSH |
cisco |
C1sco12345 |
xpresso |
198.18.134.50 |
HTTPS |
xpresso |
C1sco12345 |
cxtm |
198.18.134.19 |
HTTPS |
cisco |
cisco |
Component Details
Hostname |
Product |
Operating System |
|---|---|---|
Jumphost |
Microsoft Windows 10 WSL 2 with Ubuntu |
Microsoft Windows 10 |
asav-1 |
Cisco Adaptive Security Virtual Appliance |
ASA OS 9.18(2) |
csr1000v-1 |
Cisco Cloud Services Router 1000v |
IOS-XE 17.03.06 |
nx-osv-1 |
Cisco Nexus 9000v Switch |
NS-OS 10.3(1) |
xpresso |
XPRESSO (pyATS Web Dashboard) |
CentOS |
CXTM |
CX Test Automation Manager (Web Dashboard) |
Ubuntu |
Get Started
Use the following layout to identify your POD number.

Use the following credentials to access the lab environment according to the POD assigned to you:
POD
Host
User
Password
POD-1
dcloud-rtp-anyconnect.cisco.com
v978user1
03e029
POD-2
dcloud-rtp-anyconnect.cisco.com
v100user1
64f17d
POD-3
dcloud-rtp-anyconnect.cisco.com
v1584user1
476c54
POD-4
dcloud-rtp-anyconnect.cisco.com
v1755user1
c74683
POD-5
dcloud-rtp-anyconnect.cisco.com
v185user1
4bdb3a
POD-6
dcloud-rtp-anyconnect.cisco.com
v259user1
b2d4f0
POD-7
dcloud-rtp-anyconnect.cisco.com
v330user1
cf3df8
POD-8
dcloud-rtp-anyconnect.cisco.com
v366user1
cb7852
POD-9
dcloud-rtp-anyconnect.cisco.com
v2135user1
cb88f5
POD-10
dcloud-rtp-anyconnect.cisco.com
v370user1
a25507
POD-11
dcloud-rtp-anyconnect.cisco.com
v515user1
3673ab
POD-12
dcloud-rtp-anyconnect.cisco.com
v1837user1
1aa940
POD-13
dcloud-rtp-anyconnect.cisco.com
v288user1
187187
POD-14
dcloud-rtp-anyconnect.cisco.com
v2154user1
1bd1eb
POD-15
dcloud-rtp-anyconnect.cisco.com
v766user1
581958
POD-16
dcloud-rtp-anyconnect.cisco.com
v834user1
194653
POD-17
dcloud-rtp-anyconnect.cisco.com
v992user1
c34aec
POD-18
dcloud-rtp-anyconnect.cisco.com
v1227user1
b1224c
POD-19
dcloud-rtp-anyconnect.cisco.com
v869user1
d75ab0
POD-20
dcloud-rtp-anyconnect.cisco.com
v1236user1
e13425
POD-21
dcloud-rtp-anyconnect.cisco.com
v357user1
36db26
POD-22
dcloud-rtp-anyconnect.cisco.com
v1322user1
1b6be4
POD-23
dcloud-rtp-anyconnect.cisco.com
v1385user1
f25b77
POD-24
dcloud-rtp-anyconnect.cisco.com
v1399user1
3f6672
POD-25
dcloud-rtp-anyconnect.cisco.com
v1957user1
11f011
POD-26
dcloud-rtp-anyconnect.cisco.com
v2401user1
cf593d
POD-27
dcloud-rtp-anyconnect.cisco.com
v2477user1
9d3289
POD-28
dcloud-rtp-anyconnect.cisco.com
v2591user1
bfc227
POD-29
dcloud-rtp-anyconnect.cisco.com
v2876user1
0e84bd
POD-30
dcloud-rtp-anyconnect.cisco.com
v2037user1
a04ff9
Proctor-1
dcloud-rtp-anyconnect.cisco.com
v2954user1
2932ba
Proctor-2
dcloud-rtp-anyconnect.cisco.com
v2838user1
cb5d14
Proctor-3
dcloud-rtp-anyconnect.cisco.com
v1434user1
7441cf
Proctor-4
dcloud-rtp-anyconnect.cisco.com
v1913user1
32c53a
Proctor-5
dcloud-rtp-anyconnect.cisco.com
v2989user1
5927df
Proctor-6
dcloud-rtp-anyconnect.cisco.com
v2480user1
87f9f6
Open
Cisco Secureclient and copy the Host address or name from the previous table.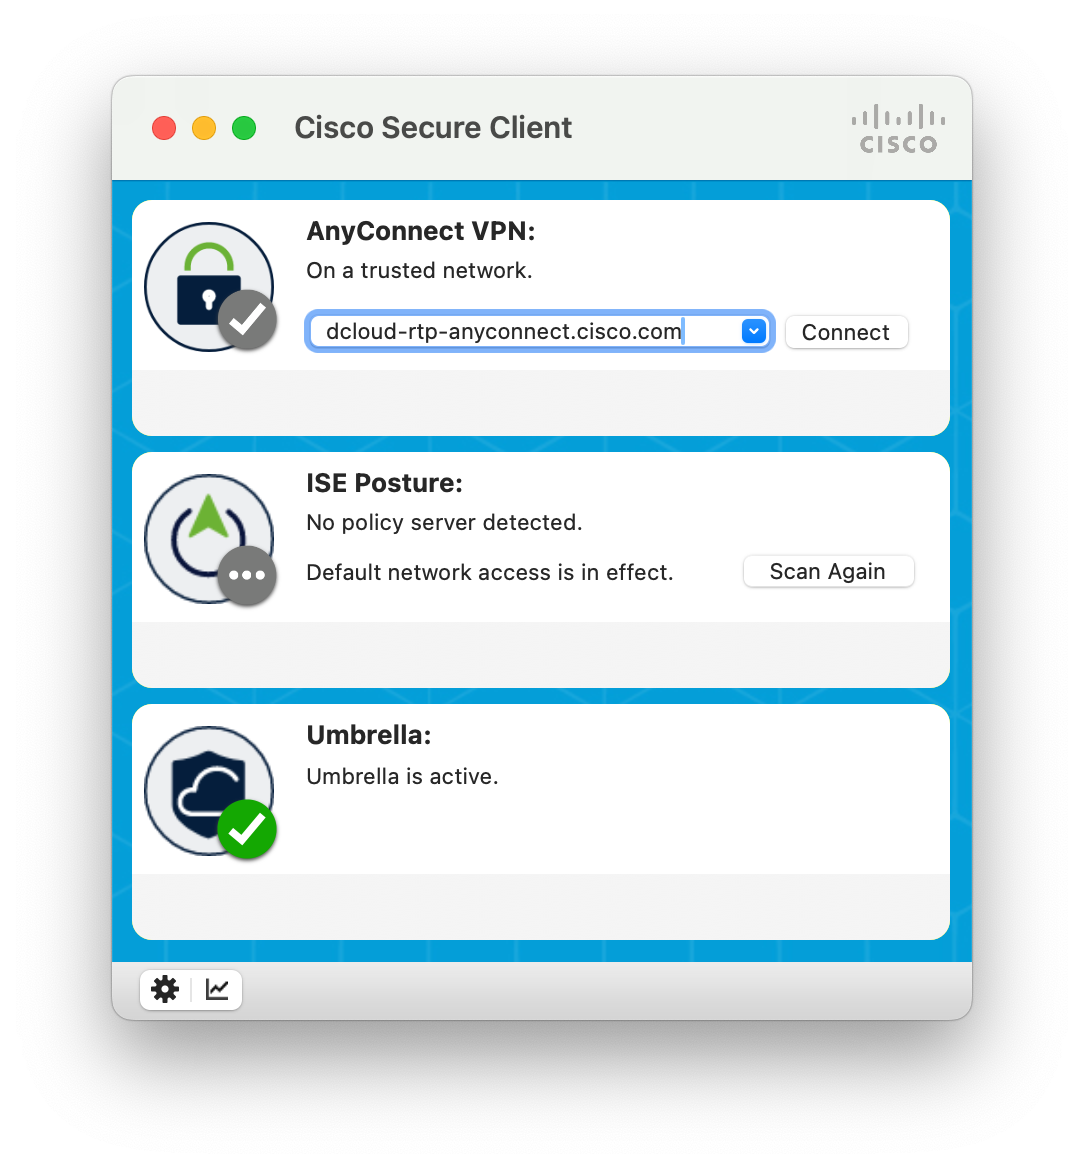
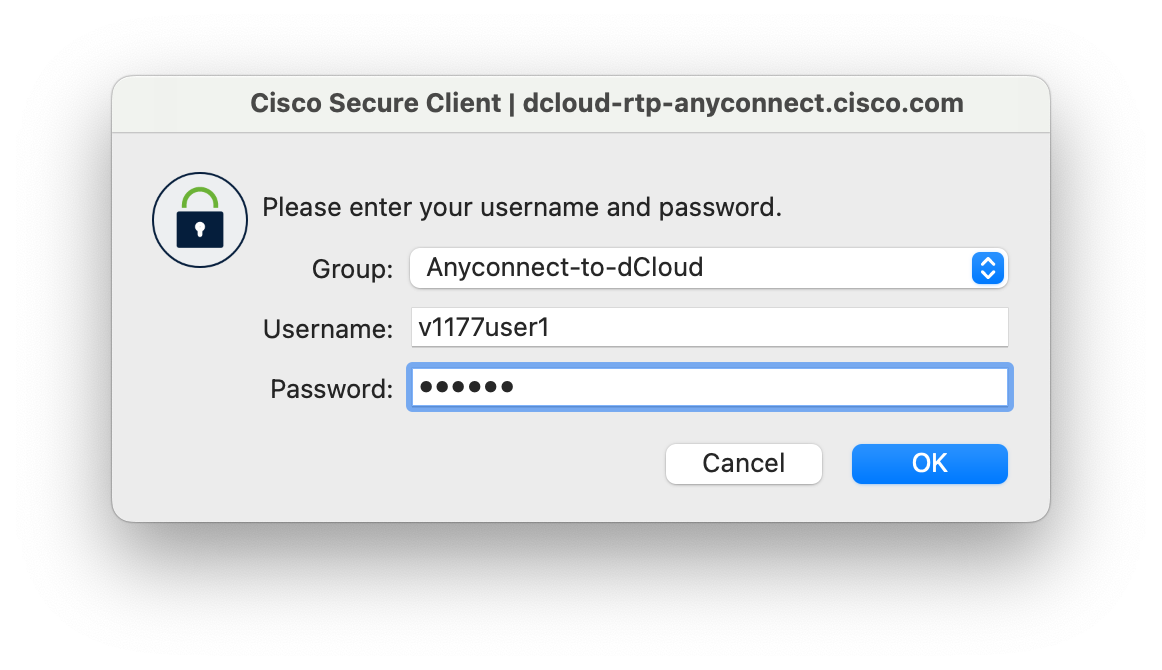
Enter the Username/Password from the previous table when the login fields appear.
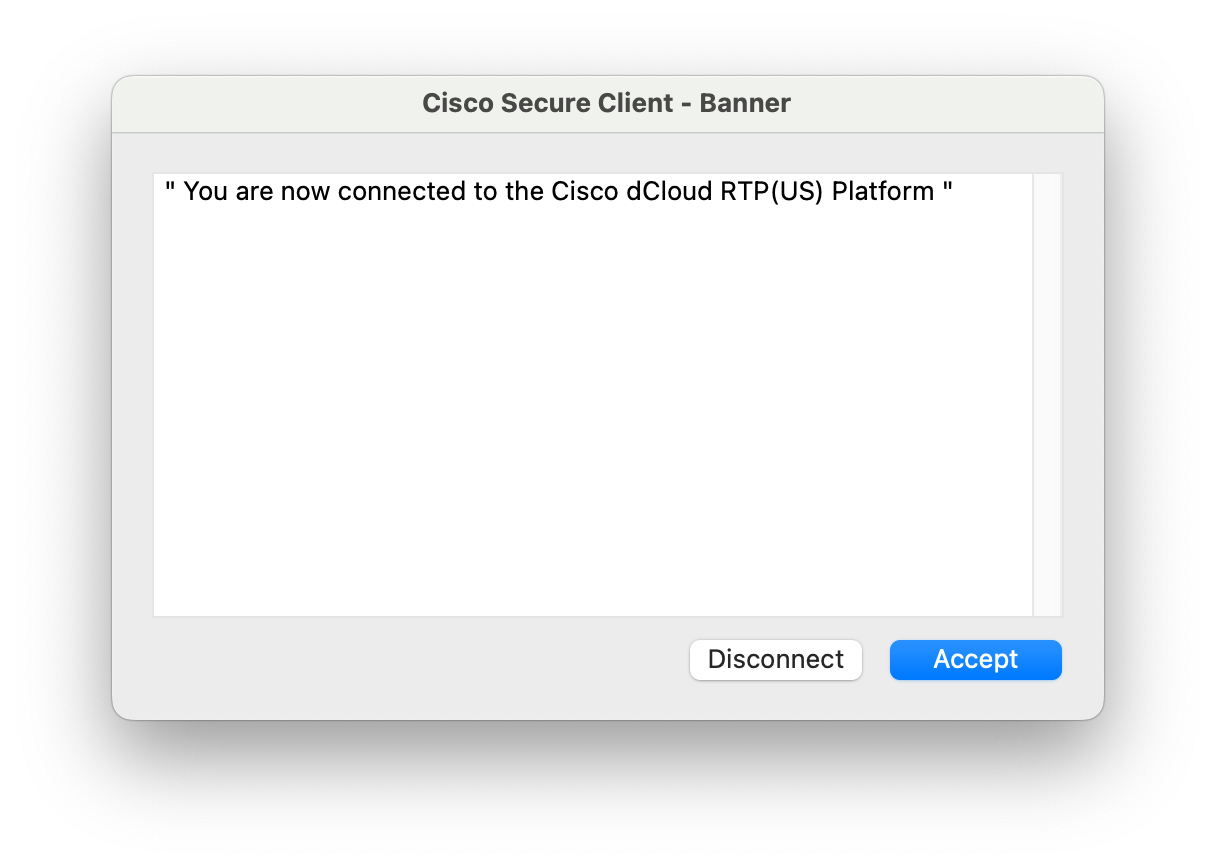
Accept when the login banner appears.
Once you are connected to Cisco AnyConnect VPN Show Me How, use the local RDP client installed on your laptop to connect to the Jumphost using the information from the table above Lab Access Information.
Once inside the remote desktop connection, open the Google Chrome browser, startup page https://cml-controller.cml.lab/login will be opened (web interface of Cisco Modeling Labs server).
Press
Loginbutton: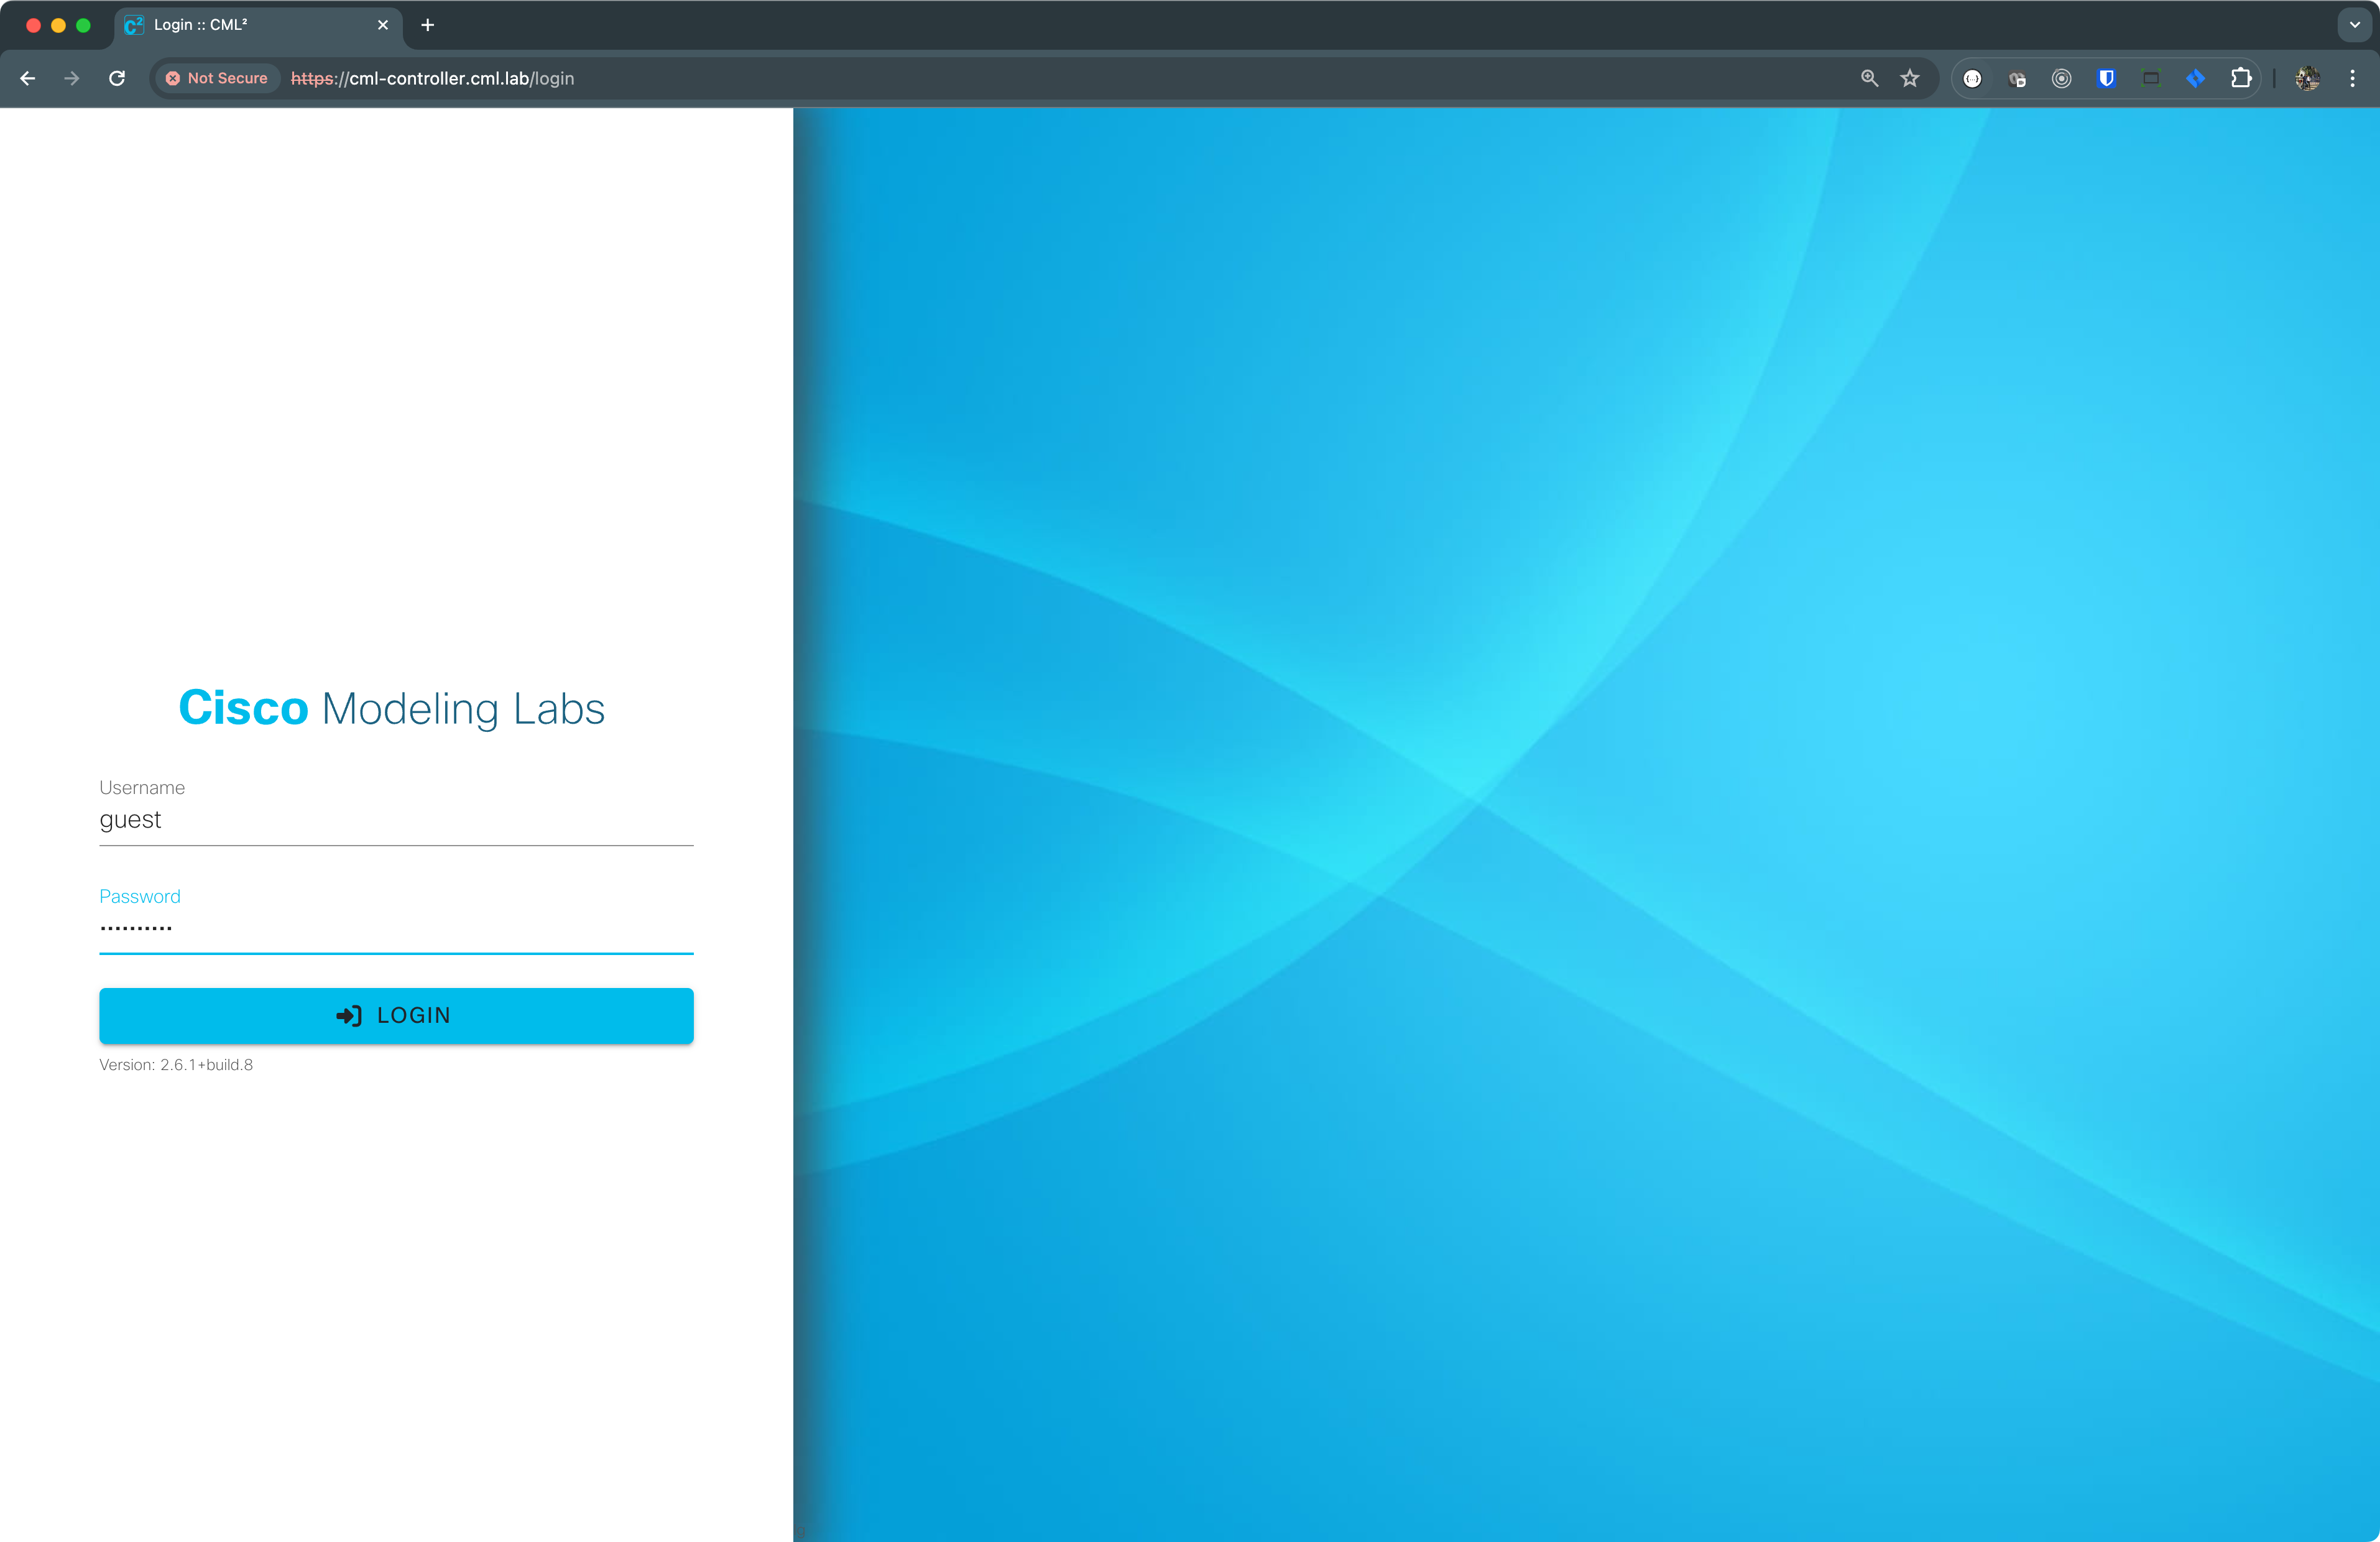
Ensure the lab LTRATO-2001 is in the
ONstate on the opened page. If not, turn it on on theplaybutton.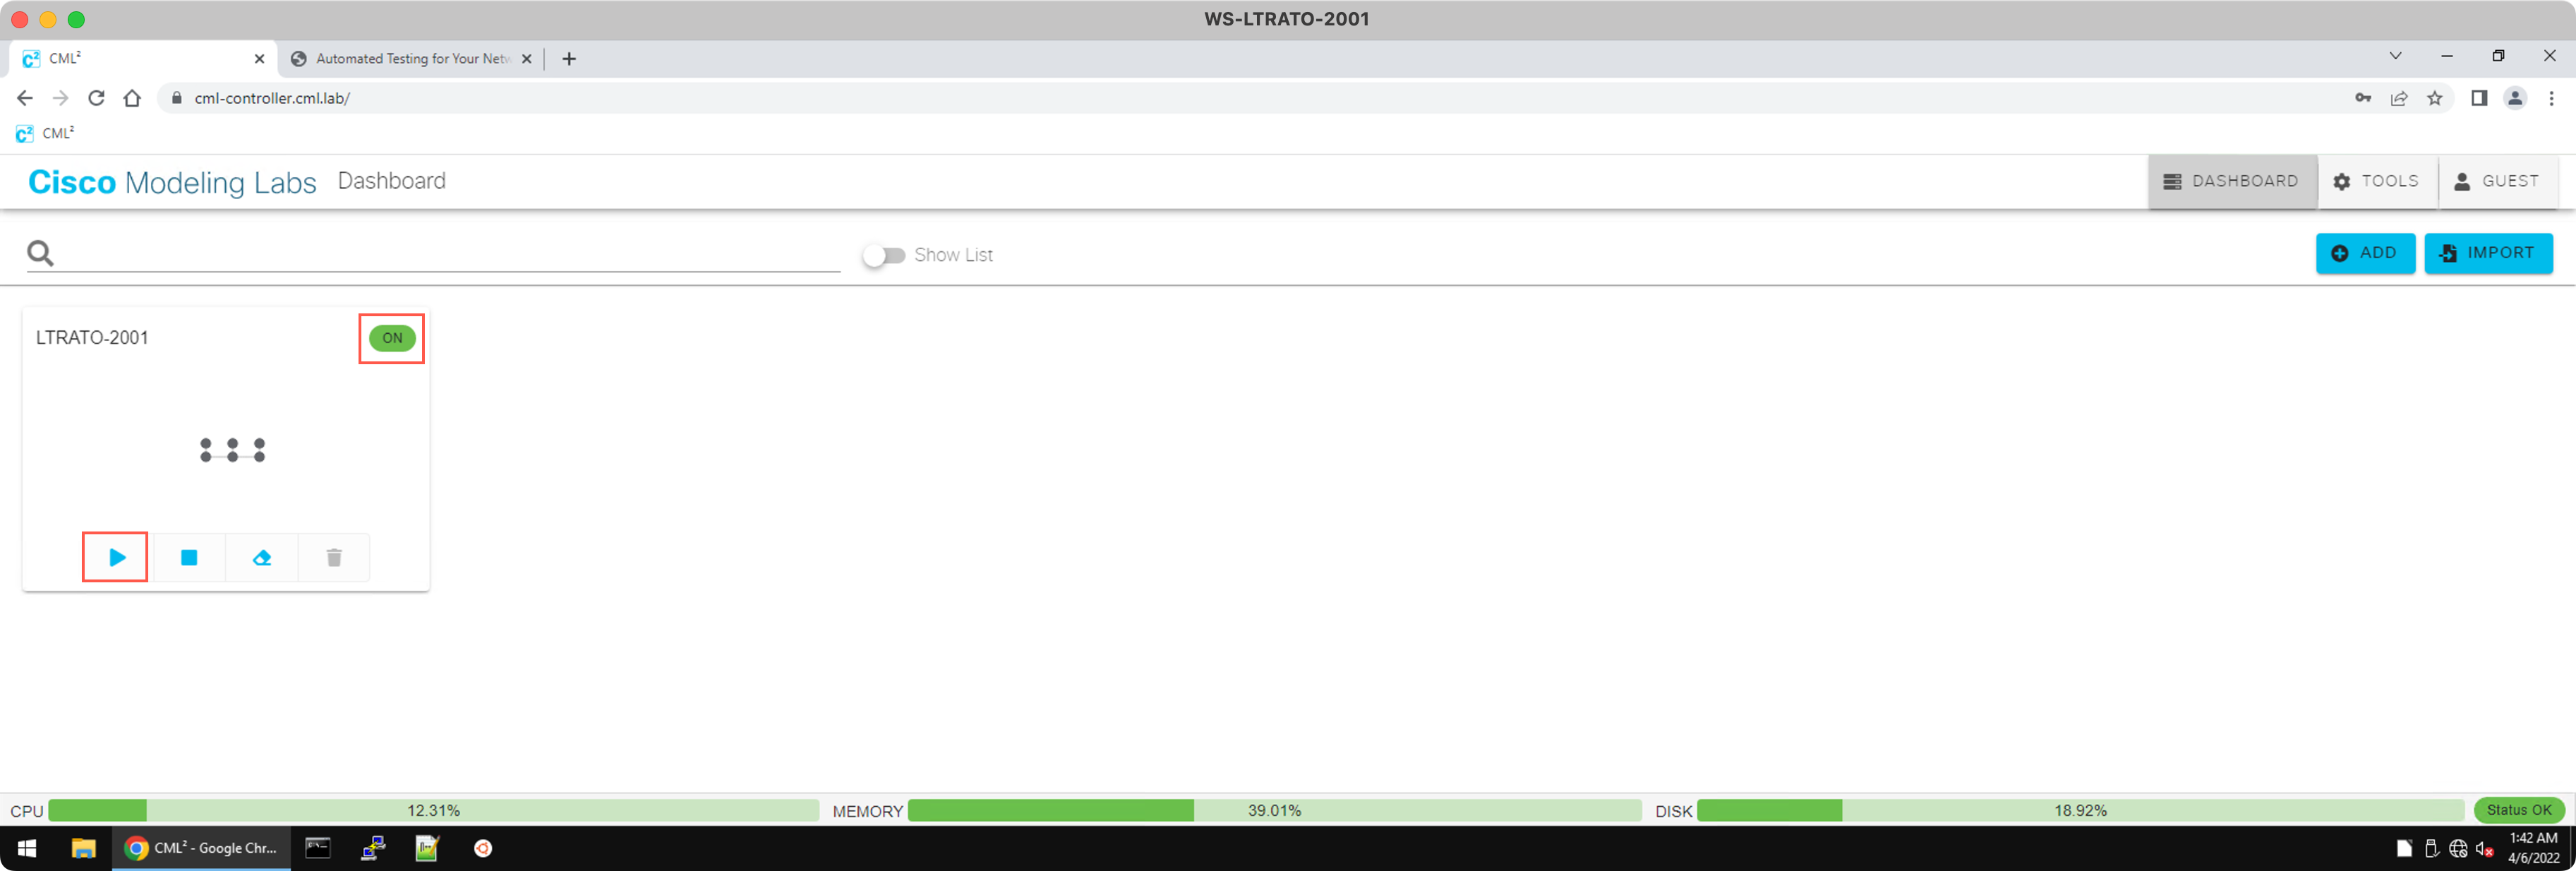
Click on the topology
the gray dots, and on the opened page, ensure the status for all devices isgreen: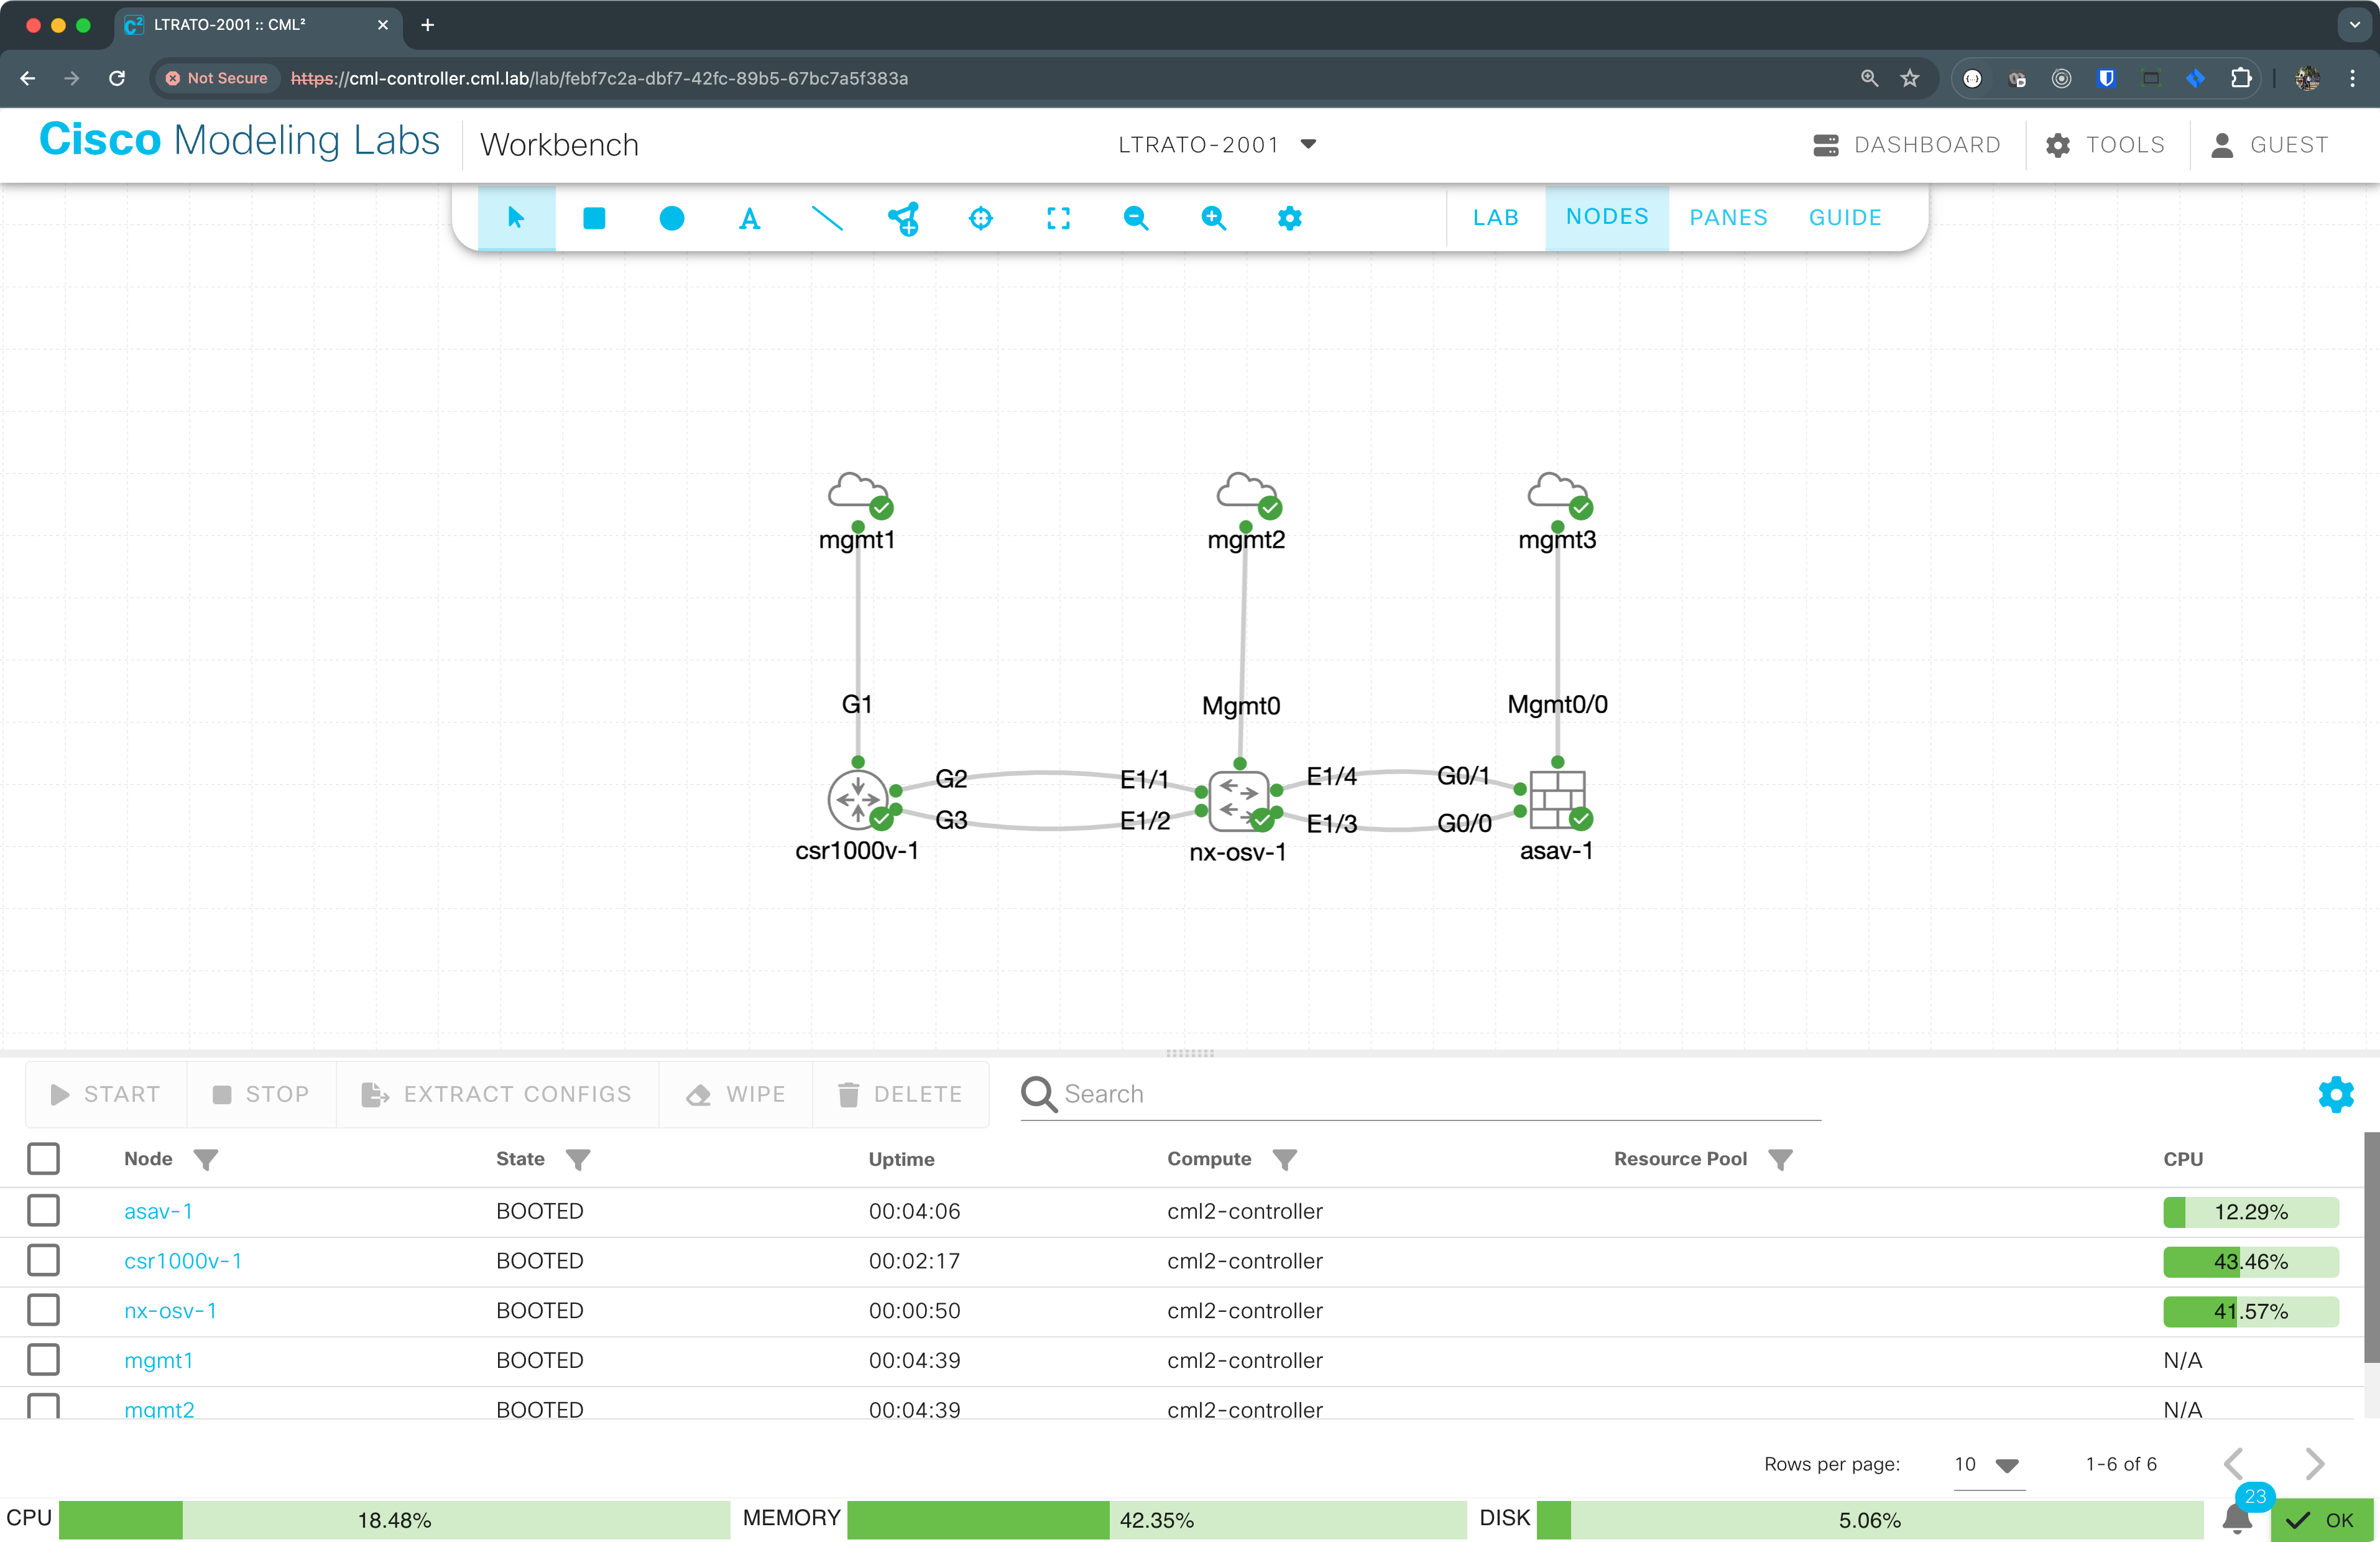
Note
If the status of any device is not green 10 minutes after the CML topology has been started, refer to the lab’s proctor for assistance.
On the remote desktop, double-click the
PuTTYshortcut icon on the desktop and verify connectivity by launching three sessions for the asav-1, csr100v-1, and nx-osv-1 devices and logging in. Username/password for all three devices:cisco/cisco.If all devices are reachable and you can log in, close the PuTTY sessions and proceed with Task 1.
Section author: Luis Rueda <lurueda@cisco.com>, Jairo Leon <jaileon@cisco.com>, Yossi Meloch <ymeloch@cisco.com>